
The Flight Training Journey AT Jedair
Curious about how to become a pilot? You are not alone. Here is a step-by-step overview of what to expect as you pursue your Private Pilot Certificate with us, from your first flight to the day you earn your wings. The process for a sport pilot is virtually identical, minus a few steps!
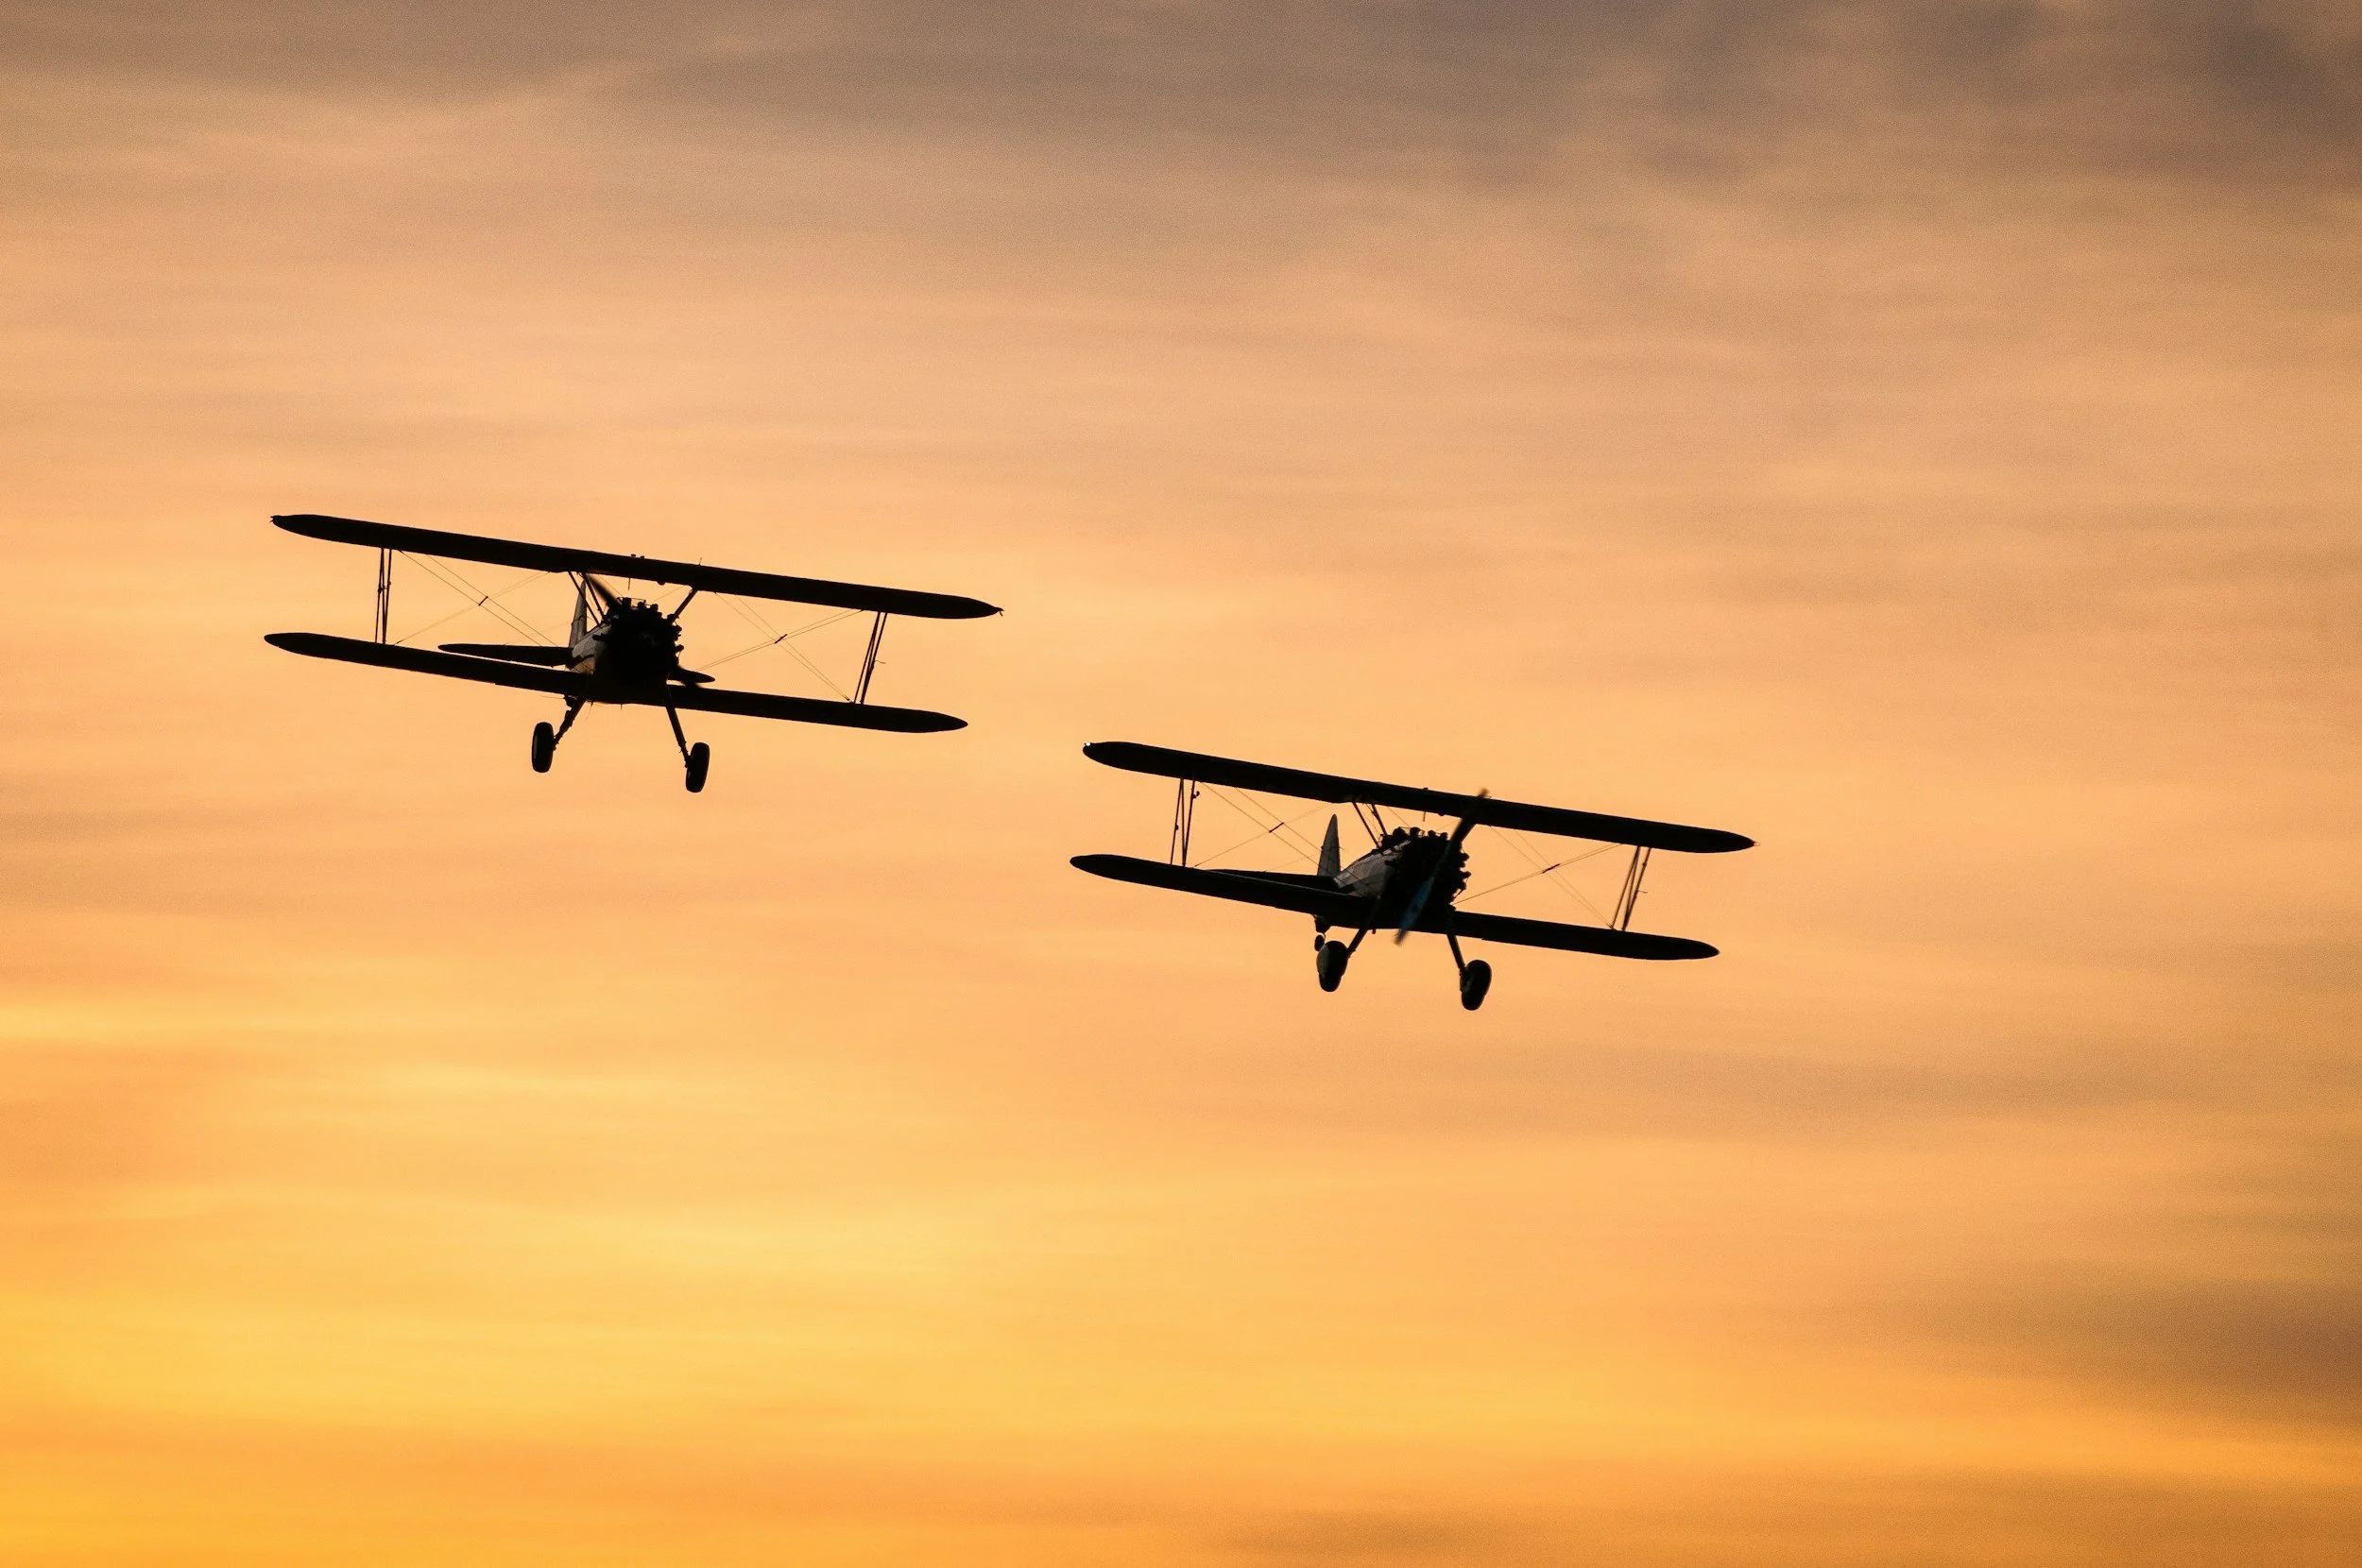
Step 1: Take an Introductory Flight
Your first step toward the skies starts with a Discovery Flight. John will guide you through a hands-on lesson from preflight inspection to engine shutdown. You will take the controls in flight and get your first taste of what it is like to fly over beautiful Central Massachusetts. The best part? This flight counts toward your pilot certificate and becomes the first entry in your logbook.
Step 2: Reflect on the Experience
After your introductory flight, take a moment to evaluate how it felt. If the excitement outweighed any nervousness, you are in the right place. For those who felt unsure, do not worry! Many students need a few lessons to grow comfortable in the cockpit. With time, the unfamiliar becomes second nature.
Step 3: Plan Your Budget and Payment Options
Flight training is an investment in a thrilling and rewarding skill. At JEDAIR, we offer flexible payment options to make the journey manageable:
Pay-as-you-go or maintain a balance on your student account
Discounts for prepaid deposits
Credit card payments accepted
Financing options available through third-party providers like PilotFinance.com
We are happy to help you create a plan that fits your goals and budget.
Step 4: Begin Your Flight Lessons
Once you're ready, it is time to start flying regularly. With access to our online scheduling system, you can set your own pace. Whether you are training part-time or aiming for full-time immersion, your instructor will guide you through each phase of training, from takeoffs and landings, to navigation and emergency procedures.
Prior to beginning flight training, you will need to show your instructor proof of citizenship and residency in order to satisfy TSA legal requirements. Typically this is met either by providing a passport, or both a driver’s license and birth certificate. The full list of acceptable documents can be found here. All documents must be official, physical, original, and presented in person to the instructor.
Step 5: Obtain a Medical Certificate & Student Pilot CertificatE
Early in your training, you will need to complete an FAA medical exam with an Aviation Medical Examiner (AME). Corrected vision and other minor conditions are usually not disqualifying. Once you pass, you will receive a medical certificate, which is required before you can fly solo.
The student pilot certificate needed prior to solo is handled by your primary instructor.
Step 6: Your First Solo Flight
Solo flight is a milestone every pilot remembers. When your instructor determines you're ready, you’ll take to the skies alone.
Step 7: Pass the FAA Knowledge Test
Throughout your training, you will build a strong foundation in aviation theory. Once your instructor deems you ready, you will take the FAA written exam: a multiple-choice test that covers airspace rules, weather, navigation, and more.
Step 8: Cross Countries
After you solo, you will be doing several cross countries to practice the basics of navigation, pilotage, and dead reckoning, as well as learning more about the national airspace system, weather, regulations, emergencies, and so much more. This is some of the most fun you will have in your training, and it’s where it all starts coming together.
Step 9: Checkride Prep
As you near the end of your training, your instructor will help you polish your skills and ensure you meet all FAA requirements. You'll also complete one or more practice checkrides to prepare for the real thing.
Step 10: Pass the FAA Practical Test
Also known as the checkride, this is your final exam: a combination of oral questioning and an in-flight evaluation conducted by an FAA designated pilot examiner (DPE).